![Locable Logo 3a3a3a Gray.png]](https://help.locable.com/hs-fs/hubfs/Locable%20Logo%203a3a3a%20Gray.png?height=50&name=Locable%20Logo%203a3a3a%20Gray.png)
Available for all plans on the Locable Marketing Platform
Many businesses and nonprofits run events and scheduled activities as part of doing business. Locable's local calendaring feature makes it easy to add powerful calendars to any website and promote your events and/or events from others in the community you support.
Locable's calendar supports events, classes, meetings, and deadlines as well as self-updating (automated) community calendar elements to help you cross-promote automatically.
NOTE: When creating a calendar, you'll want to decide if the calendar is meant to show your events, community events from your Local Connections™, or both.
Adding a Community Calendar to your website is a great way to support local organizations and look great in the process. Read more about that here!
If you haven't already, you'll want to be sure to post and promote your events by clicking Promote > Events. Learn more about posting events here.
Start by Creating a Calendar
The Calendar is a data feed that will pull event data from events you post in your account as well as events posted by companies you choose as sources for the calendar.
To create a calendar, go to Embeddable Resources > Event Calendars and click the Create Calendar button.

This will create a 'Calendar Feed' that can be embedded on your website.
Any events you input into your Locable account will automatically populate this calendar and appear on your website once the event is published.
You also have the option to include event information from other sources in this feed if you wish to promote and endorse events organized by other local businesses!
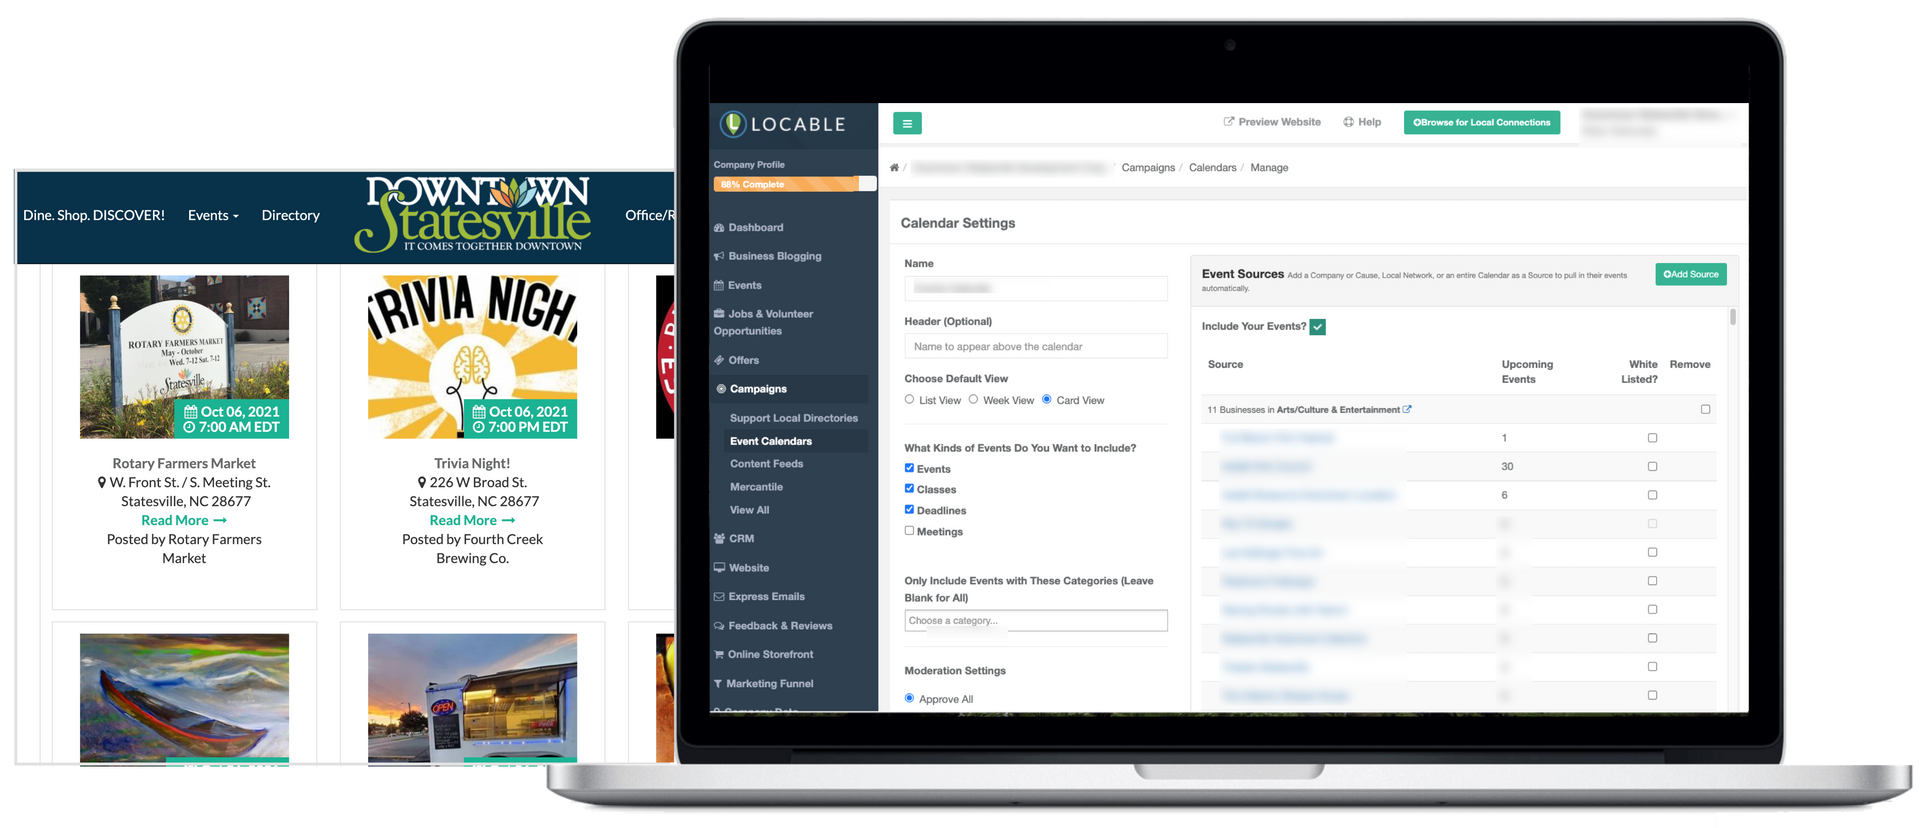
Setting Up Your Calendar
When defining the settings for your calendar, you will need to include a variety of basic information. You can make adjustments any time after it's been installed without touching your website.

- Name: Give your calendar a name so you can stay organized. It's a good idea to be specific when you are adding a variety of different calendars
- Header (Optional): This header will be displayed publicly as part of the embedded calendar.
- Choose Default View: Set your default view for how events will be displayed on your website. Users will have the option to change their view on the front end if you enable the Search option.
- What Kinds of Events Do You Want to Include? This is useful for putting events in one calendar and classes or meetings in another, for instance. For most calendars, you will want to include all event types.
- Only Include Events with These Categories: Optionally filter which events appear on this calendar based on category (this requires the Coordinate Plan which enables advanced moderation).
- Moderation Settings: You can adjust moderation settings to meet your needs (requires the Coordinate Plan).
- Approve All means all sourced events will automatically appear in your calendar
- Queue Except Whitelist means all sourced events will be pending your approval before appearing in your calendar. Click the 'Whitelist' checkbox for each business included in the Source list to auto-approve only their event posts.
- Queue All means no sourced events will appear on your calendar until you manually approve them.
You also have the option to enable a geo-based moderation override to better control which events appear on your calendar. This setting allows you to automatically flag events submitted from outside your defined geographic area.
- If enabled, events located more than 25 miles from your zip code can either be queued for moderation or automatically declined.
- You can also adjust the moderation radius by clicking 'Edit Moderation Area'. - Enable Embed Search: You can show or hide a search option with the calendar. Enabling the search allows users to search for events based on keywords, categories, dates, etc.
- Events per Page: Choose how many events to show by default before pagination on the web page.
- Custom Styles: Apply specific colors to buttons and fonts to match your branding. If left blank, default colors will be used.
- Paid accounts can hide Locable branding.
Once you Save your calendar settings, you can choose to add additional sources (businesses from your CRM) to your calendar, or simply have the calendar show your own events.
- Event Sources: This is where you decide whose events to include on your calendar. Click +Add Source to add businesses/nonprofits as sources for your calendar one by one or you can group them into Local Networks to be used across different tools with a single click.
NOTE: You can always add or remove who you Support after the Calendar is installed AND new events will appear automatically when they post or import events into their Locable account!
Don't forget to invite your Local Connections™ to participate so they can post content and support you right back!
Adding the Calendar to your Website
Once you've created your calendar, you can add it to your website. If you use Locable's web builder you can add it by going to the page you'd like it to appear and adding a Calendar embed.
If your website is on another platform, you can copy the embed code we create and paste it where you'd like it to appear. You can find your Calendar embed code by viewing the Calendar Settings once it has been saved.

Alternatively, many businesses with a website hosted elsewhere would prefer to create a "microsite" using Locable's technology to live alongside their primary site to get more powerful options and more search engine benefits.
Contact us if you need assistance with any of these options.
