![Locable Logo 3a3a3a Gray.png]](https://help.locable.com/hs-fs/hubfs/Locable%20Logo%203a3a3a%20Gray.png?height=50&name=Locable%20Logo%203a3a3a%20Gray.png)
Available on the Locable Publishing Platform
The Media Library is a central component of image management in the Community Content Engine. All users have access to the Media Library, however, the images they can utilize vary based on permissions (i.e. a member who is a Directory Listing owner can only manage their own images whereas Site Admins can edit all images).
The Media Library can be accessed by creating a new article/event and then selecting the main/add image button (you don't have to save the article/page for the image to be available though, you just need to go that route to get to it).
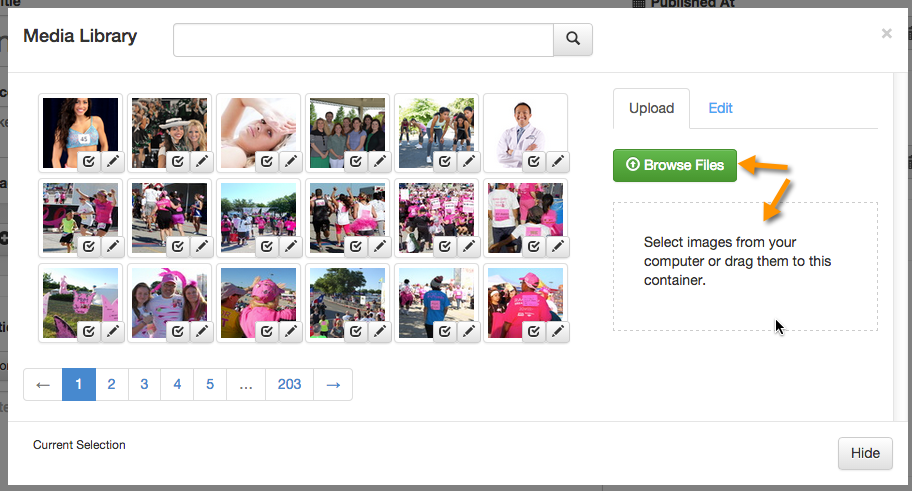
First, images can be added by dragging-and-dropping or clicking to "Browse." In either case, multiple images can be uploaded simultaneously however as you add images or upload large images it may take longer to upload and process. All images are processed to create multiple variations.
Once images are uploaded and processed they'll appear in the Media Library and become editable.
Pro-Tip: The Media Library can be hidden while images are uploading and processing allowing you to work on the article in parallel. Start by uploading images then hide to get more done faster!
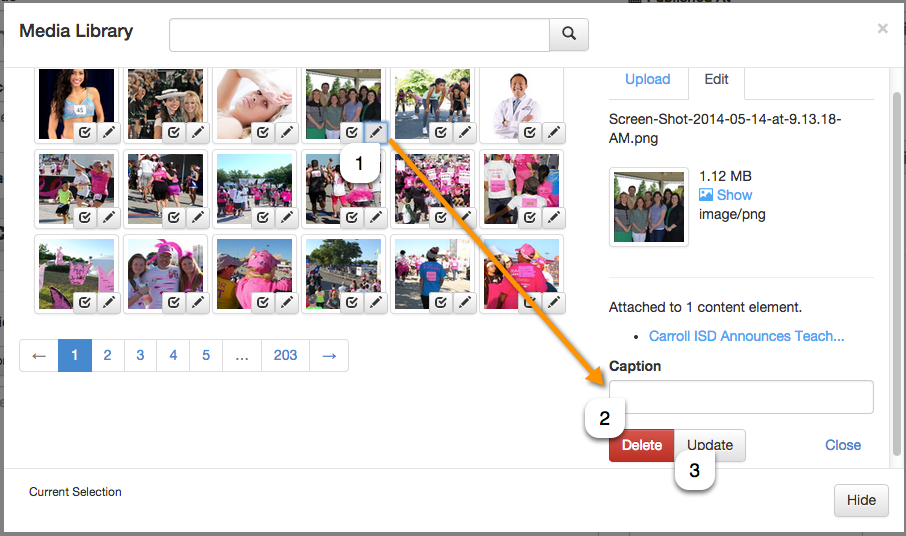
Once processed you can:
- Set or edit the caption - be sure to click the "Update" button or the caption will NOT be saved. Read about inline image captions below...
- See where the image is used on the site
- Delete images (images should not be deleted if they're being used)
Placing Images
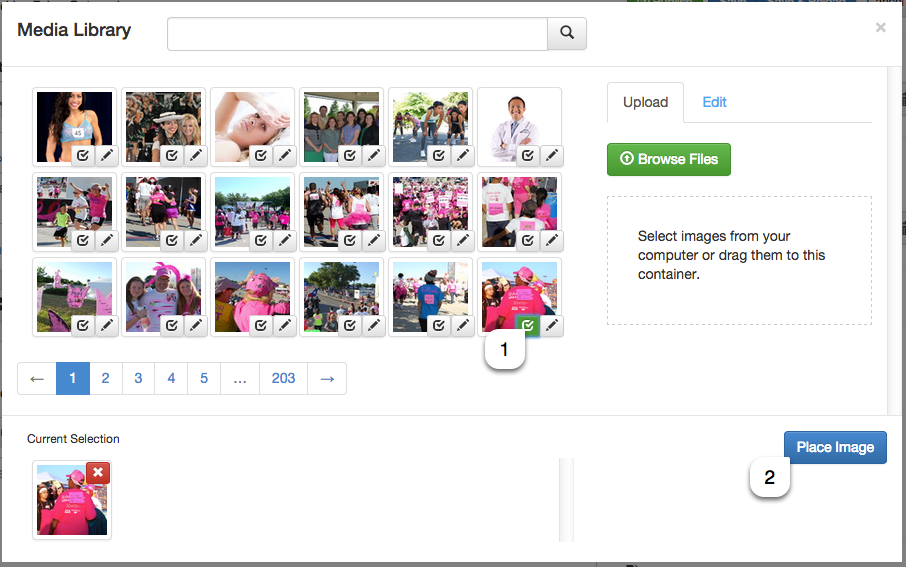
The Media Library will function slightly differently depending on where your'e accessing. If you're adding a Main Image the Media Library will allow you to insert a single image, the same is true of inline images however you can repeat the process to place multiple inline images. With the gallery however you select all of the images you'd like to add before placing, learn more about photo galleries here.
Aligning Inline Images
Once an image is selected, there is an option to choose which size image to use as well as how to align the image.

Inline Image Captions
Images adding to the body of an article, not the Main Image or in a gallery, don't automatically show a caption. In order to add a caption to an inline image you must follow a simple but specific process (see animation and steps below):
- Insert the image to the right, left or full-width like you normally would
- Click on the image with your cursor, it will make the image appear darker
- Use the Right-Arrow key to move the cursor from the image to just right of the image
- Press the enter key to move the cursor directly below the image
- Type your caption.
Please Note: Be sure to click outside of the image border before continuing to avoid adding any other content or formatting within the caption.
 No results found