![Locable Logo 3a3a3a Gray.png]](https://help.locable.com/hs-fs/hubfs/Locable%20Logo%203a3a3a%20Gray.png?height=50&name=Locable%20Logo%203a3a3a%20Gray.png)
Available for all plans on the Locable Marketing Platform
As things happen in your community or with your business, you will want to be sure to make updates to your website! Keeping content current is key to having a dynamic website.
Updating Photos
To update the photos on a web page, you must first select the page you want to update by going to Website > Manage Webpages and selecting the page you want to edit.
Once you have selected and opened the web page, you will view the admin side of the page and the various content blocks that build the page.
Once you locate the photo you want to update, you will need to select the image button in the toolbar for that content block:

NOTE: If there is no photo currently used here, you will see the gray 'photo box', as viewed in this example.
Once you click the image button in the toolbar, you will be able to Add an Image or Add an Embed, such as a video (see https://help.locable.com/en/articles/347204-embedding-a-video-or-3rd-party-widget-on-your-site for details on embedding a video).
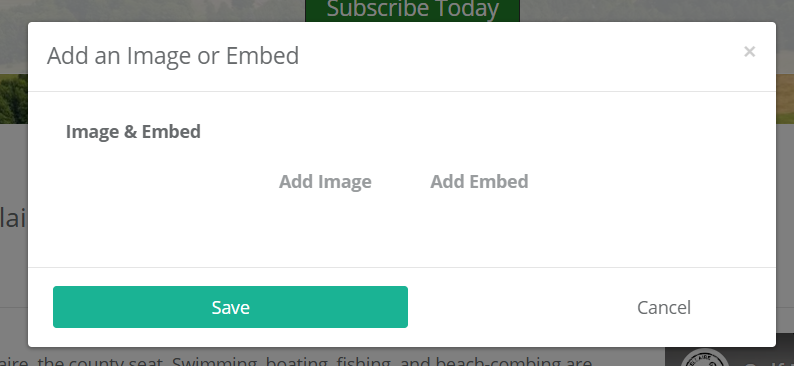
Add Image
When you click Add Image, you have 2 options: To choose an image from your computer OR to select an image already in your Media Library.
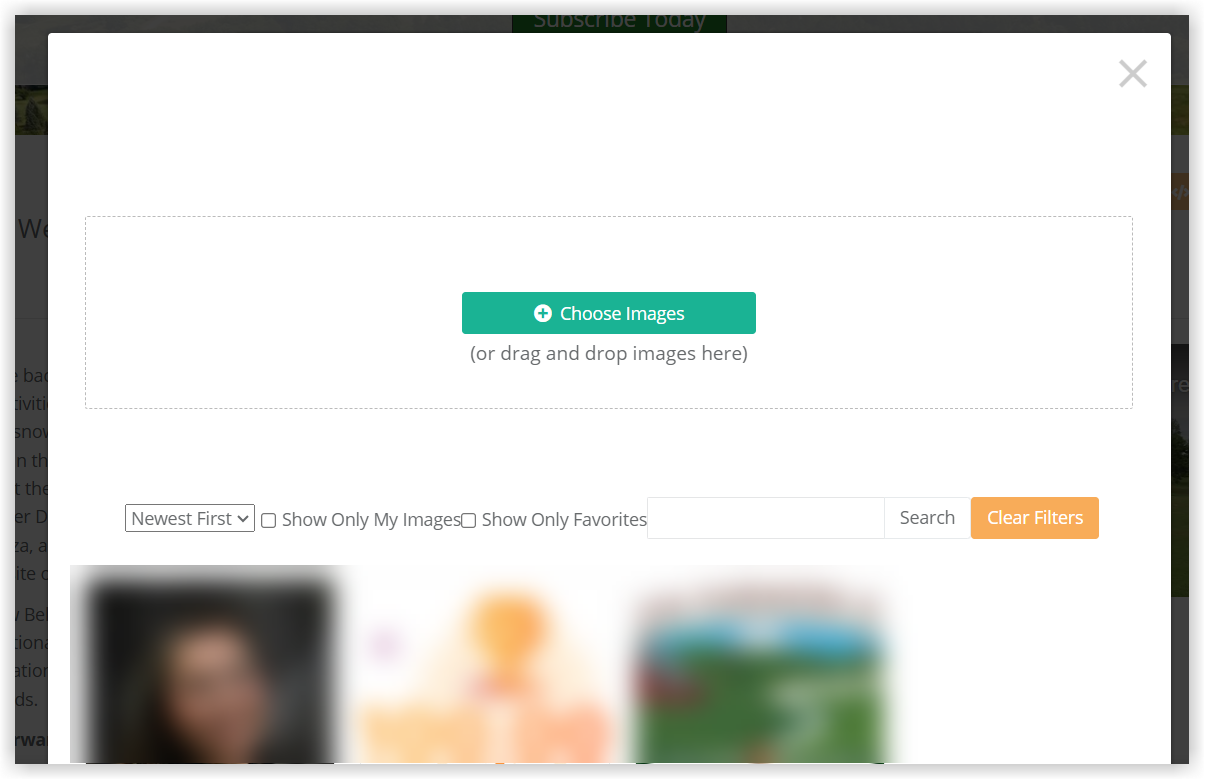
Choose Your Image
You can choose an image already in your Media Library by scrolling through and clicking on the image you wish to use.
If the image you want to use has not yet been added to your Media Library, you can click Choose Image to browse your computer and select the new photo to display here.

Choose the image you want to upload and click 'Open'. This will load the image into your Media Library, and then you will need to select the image to add it to the content block.
Once you've selected the photo you want to use, click 'Save'. You will view the page with the newly selected photo. If there are no more changes to be made on the page, click 'Save Changes' at the bottom of your screen.

NOTE: If you Save the photo in the photo selection dialogue box and do not save the page, your new photo will not be saved to the page.
BE SURE TO PREVIEW YOUR CHANGES
Once you have saved your changes on the web page, you will want to 'Preview' the page so you can see how the image looks once the formatting and styling of your website are applied. The photo WILL look different on the admin side than it does 'in real life' on your website.
At the top of the page, you will want to click 'Preview' to make sure you are happy with the new image on the page.

If the image does not look the way you want it to, you may need a new image or you may need to change the orientation of the photo. We always recommend using a landscape orientation if you can.
The nice thing is, if you aren't loving the new look, it's very easy to change it!