![Locable Logo 3a3a3a Gray.png]](https://help.locable.com/hs-fs/hubfs/Locable%20Logo%203a3a3a%20Gray.png?height=50&name=Locable%20Logo%203a3a3a%20Gray.png)
Available for all plans on the Locable Marketing Platform
Images are a powerful part of your marketing and online presence — they help capture attention, communicate your message, and make your site visually engaging. But optimizing your images involves more than just uploading them.
With Locable's built-in tools, you can crop, rotate, and add key information like ALT and TITLE tags to boost SEO and ensure accessibility.
Accessing and Editing Images
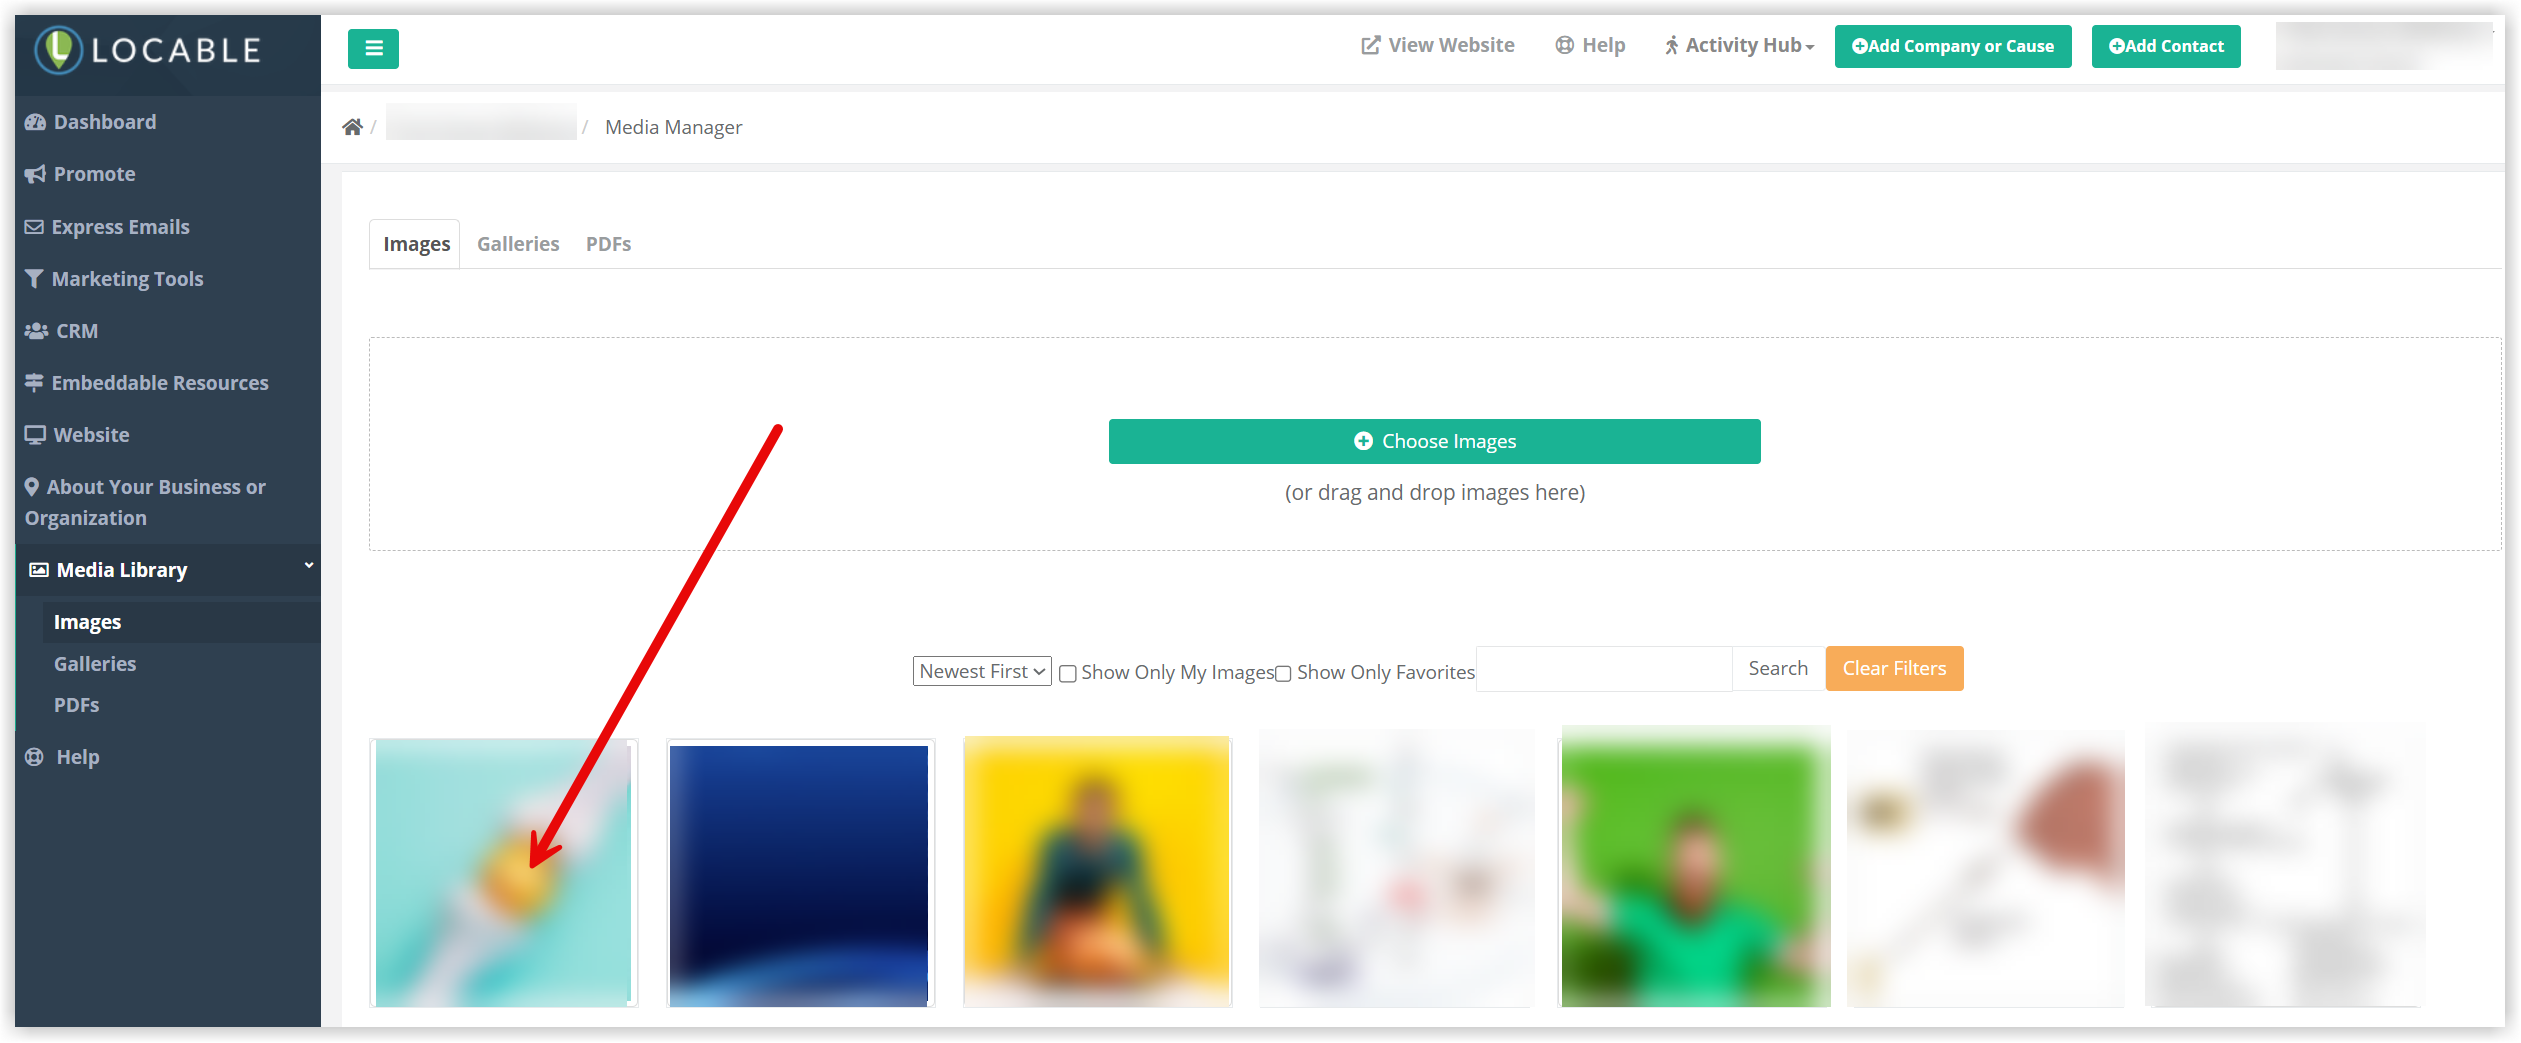
Images that you add to your Locable account can be accessed and edited by visiting Media Library > Images and then clicking the image to open it for editing.
Key Aspects of Locable's Image Editing

- The original file name is shown - NOTE: We recommend you make the image file as descriptive as you can to make it easier to search for an image later.
- View Original will open the original image file.
- You will see who uploaded the image and when it was added to the Media Library, as well as a link to the account.
- You have the option to rotate the image, flip the image, or crop the image. You can click multiple times to cycle through the options.
- You can click and drag a corner to change the aspect ratio or crop the image.
- Add ALT text details (see below for more).
- Add TITLE details (see below for more).
- Don't forget to save and apply your changes!
- If you ever need to delete an image, you can do that here too. You will see this Delete option as long as the image is not currently being used anywhere on your website - learn more about Deleting an image.
NOTE: If you have edited an image and don't like the changes you've saved, you can always revert back to the original by clicking the 'Revert to original' link that will appear on the bottom right of this screen for any edited image.
Cropping and Rotating Images
Cropping helps focus on the most important part of the image or fits your layout better. Rotation can be used to fix orientation issues from mobile uploads.
📌 Tip: Landscape images work best in most layouts, especially for headers and blog post images.
What is ALT Text?
The ALT tag (alternative text) is a short description of the image. It’s:
-
Used by screen readers to describe images to visually impaired users (required for ADA compliance)
-
Shown if an image fails to load
-
Read by search engines to better understand your content, helping improve SEO
✅ Example: "Main Street Fall Festival with pumpkin stands and live music"
🚫 Avoid: “Image of...” or stuffing keywords — just describe the image clearly and naturally.
Pro-Tip: It is critical to add an Alt tag to your image if your image contains text. Text in images is invisible to screen readers and search engines. Adding the Alt text here will allow the text to become 'visible' and make your website ADA-compliant.
You can read a complete description at https://en.wikipedia.org/wiki/Alt_attribute
What’s a TITLE Tag?
The TITLE tag adds optional text that may appear as a tooltip when users hover over the image. It provides extra context but isn’t necessary for SEO or accessibility. Use it sparingly and only when it adds value.
Pro Tip: This is a great place to note a photo credit or give details about the image to be viewed when used in a Gallery in a blog post.
Should I Take the Time to Add These Tags?
Yes — and it only takes a few seconds per image.
Ideally, you should add ALT and TITLE tags when you upload your images. It’s a quick step that provides long-term value.
Why It Matters:
-
✅ Accessibility: ALT tags help make your site ADA-compliant, ensuring it's usable by those who rely on screen readers.
-
✅ SEO Boost: They also give search engines helpful context, which can improve how your content appears in search results.
-
✅ Professionalism: Sites with well-tagged images are more user-friendly and polished.
That said, keep in mind that ALT tags alone won’t dramatically improve your SEO. They’re one piece of the puzzle. Creating and regularly sharing valuable content and collecting customer reviews will have a much greater impact on your visibility and online success.
Adding these tags is important to keep your website ADA-compliant and make your content more 'visible' to those using screen readers.
How do I set the Tags?
You can set both Alt and Title tags in a few different places. As outlined above, you can browse all of your images by visiting Media > Images and then selecting images to add/edit tags.
Alternatively, when you're working within content or webpages, you can upload an image and define the tags by clicking the gear icon for the image.
